HTTP3是HTTP协议的第三个主要版本,是由Google开发的QUIC协议开发而来,跟目前的HTTP2相比,HTTP3不是基于TCP而是基于UDP协议,HTTP3目前(2021年04月)还是草案状态,暂未推出正式版本。
开始之前
由于目前HTTP3还没有发布正式版,不建议在生产环境使用,如果想尝鲜建议在测试服务器上进行。
目前Nginx官方暂未支持HTTP3,想使用HTTP3的话需要自行编译,所以如果使用的是Nginx现在又想要尝鲜HTTP3,需要使用Cloudflare开发的补丁重新编译Nginx。
编译环境
我使用的是全新纯净安装的Debian10系统,配置为2G内存1核CPU以及55GSSD的Vultr服务器,涉及到模块编译,建议不要使用配置太差的服务器,2G内存应该是必须的。
编译过程需要从GitHub下载一些模块,对网络可能有一点要求。
整个编译过程使用的是root账户,如果当前不是以root用户登录,编译过程可能需要使用sudo命令。
编译过程
因为编译过程涉及到比较多的步骤,只是为了尝鲜HTTP3而已,所以我找了一个开源的脚本来减少工作量,大多数编译步骤已经完成,能免去我们很多调试的过程。
编译相关命令:
wget https://raw.githubusercontent.com/angristan/nginx-autoinstall/master/nginx-autoinstall.sh
chmod +x nginx-autoinstall.sh
./nginx-autoinstall.sh
执行之后会有几个选项,如果只是想尝鲜HTTP3,其余的可以都选择不安装,比如说:
root@buzt.cn:~# ./nginx-autoinstall.sh
Welcome to the nginx-autoinstall script.
What do you want to do?
   1) Install or update Nginx
   2) Uninstall Nginx
   3) Update the script
   4) Install Bad Bot Blocker
   5) Exit
Select an option [1-5]: 1
This script will install Nginx with some optional modules.
Do you want to install Nginx stable or mainline?
   1) Stable 1.18.0
   2) Mainline 1.19.6
Select an option [1-2]: 2
Please tell me which modules you want to install.
If you select none, Nginx will be installed with its default modules.
Modules to install :
       HTTP/3 (by Cloudflare, WILL INSTALL BoringSSL, Quiche, Rust and Go) [y/n]: y
       Cloudflare's TLS Dynamic Record Resizing patch [y/n]: n
       Cloudflare's full HPACK encoding patch [y/n]: n
       PageSpeed 1.13.35.2 [y/n]: n
       Brotli [y/n]: n
       Headers More 0.33 [y/n]: n
       GeoIP (BROKEN) [y/n]: n
       Fancy index [y/n]: n
       ngx_cache_purge [y/n]: n
       nginx_substitutions_filter [y/n]: n
       ngx_http_lua_module [y/n]: n
       nginx WebDAV [y/n]: n
       nginx VTS [y/n]: n
       nginx RTMP [y/n]: n
       nginx testcookie [y/n]: n
       nginx ModSecurity [y/n]: n
Nginx is ready to be installed, press any key to continue...
如果安装过程没有问题,这个安装脚本应该能帮我们完成Nginx编译、相关文件目录创建、文件复制以及添加systemctl启停控制脚本等工作,我们只需要和使用包管理器安装的Nginx一样使用Nginx就行了。
编译完之后查看Nginx的编译参数:
root@buzt.cn:~# nginx -v
nginx version: nginx/1.19.6
root@buzt.cn:~# nginx -V
nginx version: nginx/1.19.6
built by gcc 8.3.0 (Debian 8.3.0-6)
built with OpenSSL 1.1.1 (compatible; BoringSSL) (running with BoringSSL)
TLS SNI support enabled
configure arguments: --prefix=/etc/nginx --sbin-path=/usr/sbin/nginx --conf-path=/etc/nginx/nginx.conf --error-log-path=/var/log/nginx/error.log --http-log-path=/var/log/nginx/access.log --pid-path=/var/run/nginx.pid --lock-path=/var/run/nginx.lock --http-client-body-temp-path=/var/cache/nginx/client_temp --http-proxy-temp-path=/var/cache/nginx/proxy_temp --http-fastcgi-temp-path=/var/cache/nginx/fastcgi_temp --user=nginx --group=nginx --with-cc-opt=-Wno-deprecated-declarations --with-cc-opt=-Wno-ignored-qualifiers --with-openssl=/usr/local/src/nginx/modules/quiche/deps/boringssl --with-quiche=/usr/local/src/nginx/modules/quiche --with-threads --with-file-aio --with-http_ssl_module --with-http_v2_module --with-http_mp4_module --with-http_auth_request_module --with-http_slice_module --with-http_stub_status_module --with-http_realip_module --with-http_sub_module --with-http_v3_module
可以看到,当前Nginx版本为1.19.6,且已经添加了HTTP3支持。
Nginx添加HTTP3支持
如果只是需要启用HTTP3的话,可以将下列配置添加至现有的Nginx对应站点的配置文件中,相关配置如下:
server {
        # Enable QUIC and HTTP/3.
        listen 443 quic reuseport;
        # Enable HTTP/2 (optional).
        listen 443 ssl http2;
        ssl_certificate      cert.crt;
        ssl_certificate_key  cert.key;
        # Enable all TLS versions (TLSv1.3 is required for QUIC).
        ssl_protocols TLSv1 TLSv1.1 TLSv1.2 TLSv1.3;
        # Add Alt-Svc header to negotiate HTTP/3.
        add_header alt-svc 'h3-29=":443"; ma=86400';
    }
重点是最后面哪个add_header不能忘了,需要通过这个header通知浏览器当前站点支持HTTP3。
编译过程使用了Cloudflare的补丁,该补丁目前支持HTTP3的29草案,所以编译之后的HTTP3也是支持29草案。
因为HTTP3使用的是UDP协议,如果当前服务器启用了防火墙,还需要在防火墙放行UDP协议的443端口,如果像是国内的阿里云、腾讯云等云服务商默认开启了安全组的,还需要在安全组放行UDP的443端口。
HTTP3的实际使用体验
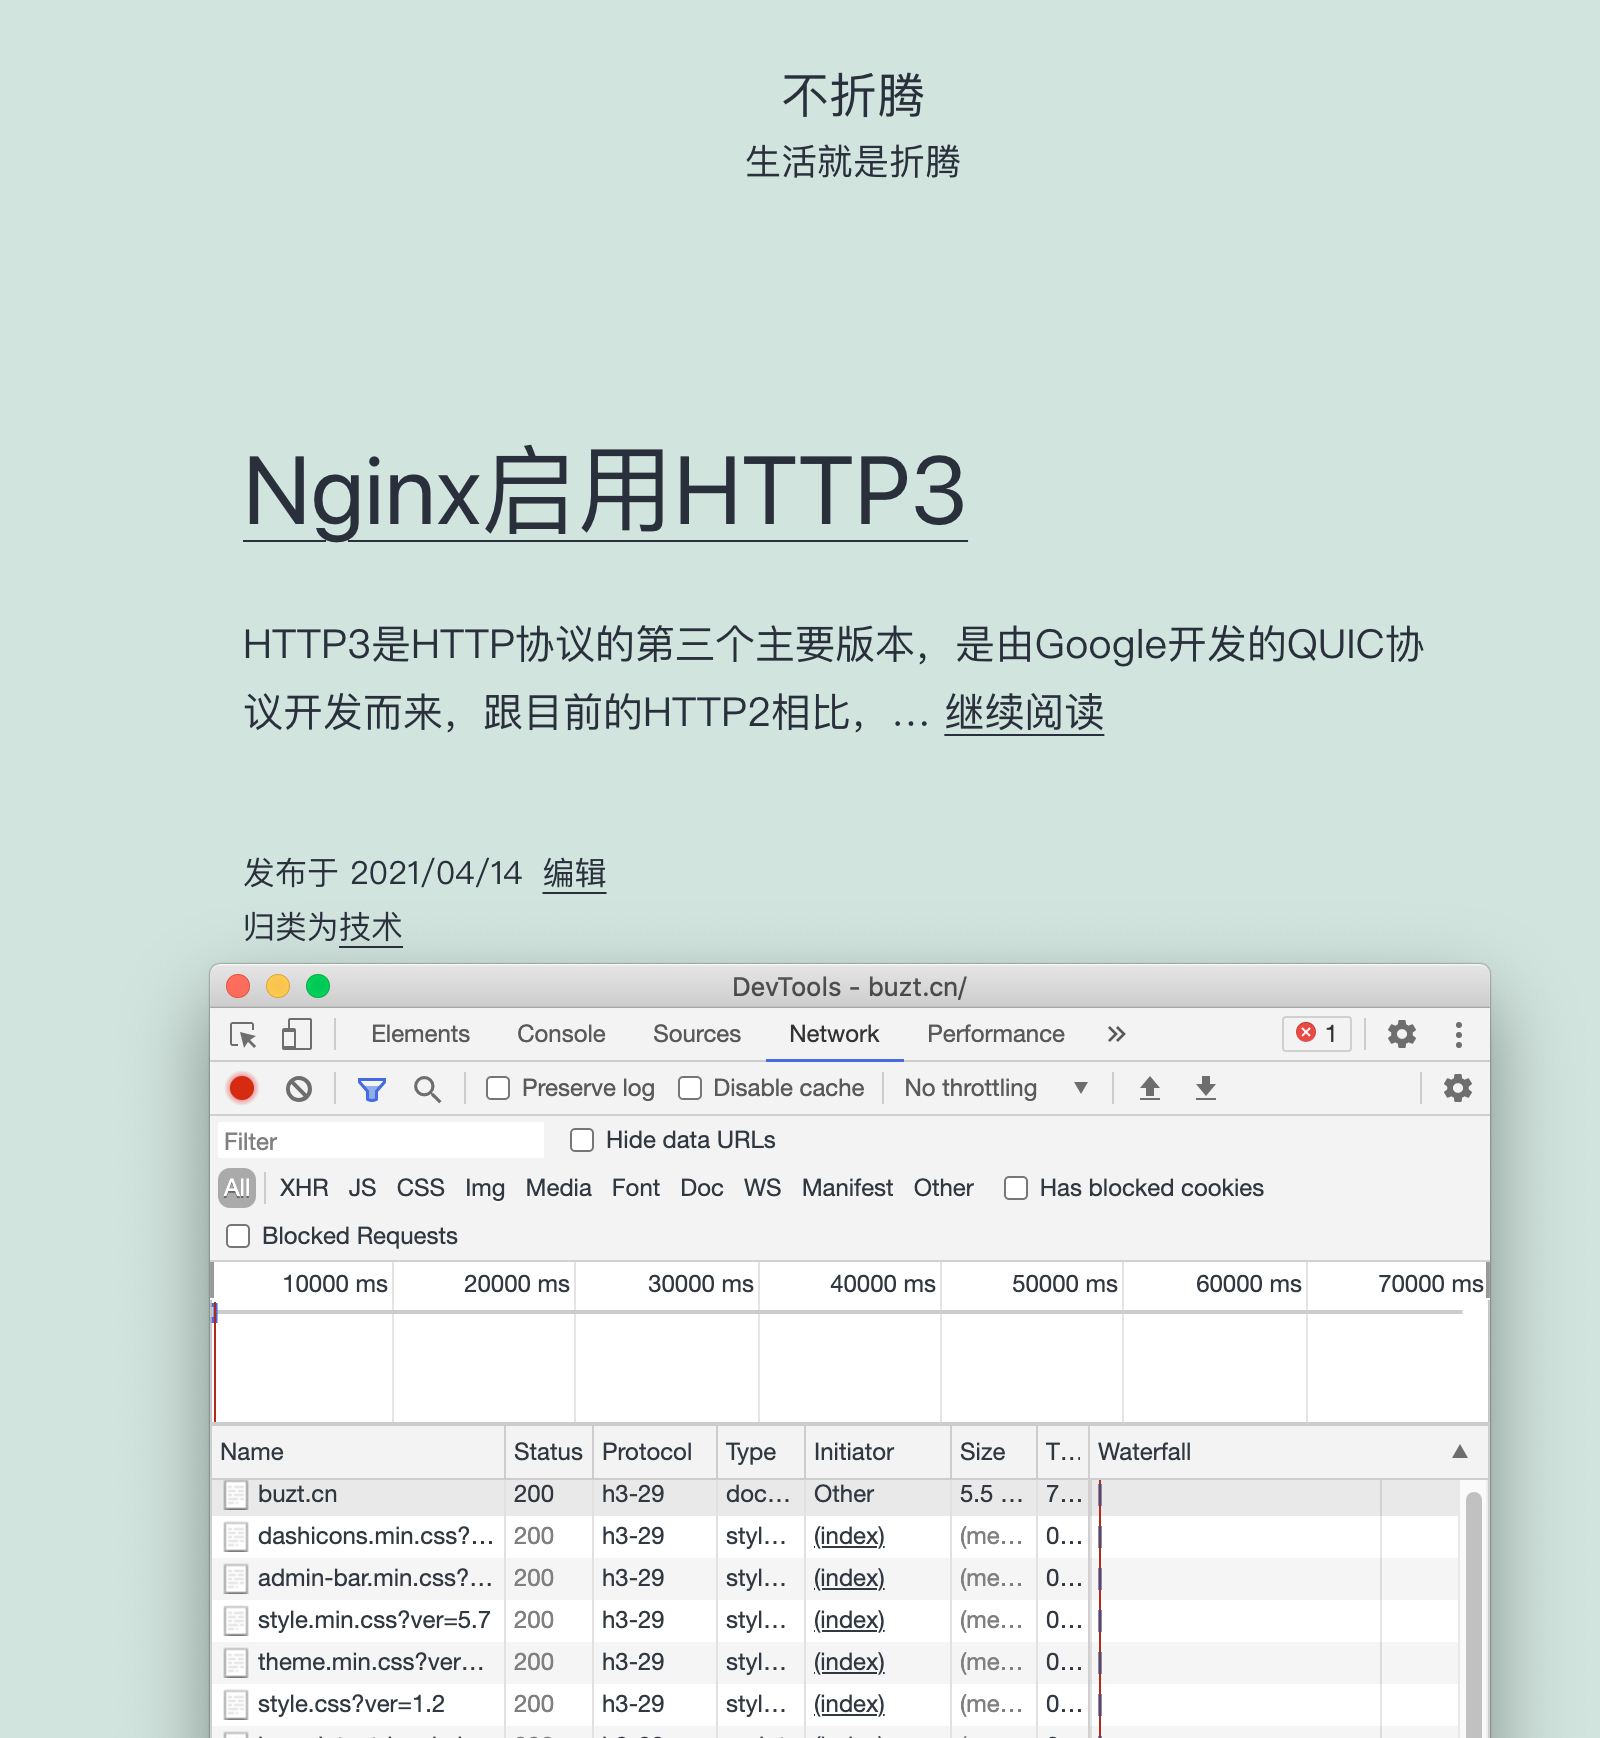
本站开启HTTP3截图:

说实话,就我目前这将近一年多的HTTP3使用体验来说,日常感觉和HTTP2差别不大,由于Chrome、Firefox、Safari等浏览器暂时还不是默认支持,HTTP3的使用频率并不大,再加上国内网络差异,有些网站即使支持了HTTP3协议,日常访问也不一定是走HTTP3协议,可能同样的系统同样的浏览器,在电信宽带下能使用HTTP3协议访问,但是在移动宽带或者4G/5G环境下就没法使用HTTP3协议了。
再者,目前的HTTP3还存在不少bug,就我自己遇到的来说,Chrome浏览器在使用HTTP3协议的情况下,可能会出现WordPress登录页即使账号密码正确也会无法登录进后台,或者是后台编辑文章会出现突然无法提交的情况,更直接点就是,HTTP3协议下Chrome会出现无法POST数据的情况。
目前来看,HTTP3协议的广泛使用还仍需时日,我个人是非常不建议在正式环境使用,遇到莫名其妙的bug实在是浪费时间。
相关项目
nginx-autoinstall:
https://github.com/angristan/nginx-autoinstall
quiche:
https://github.com/cloudflare/quiche/tree/master/extras/nginx#readme